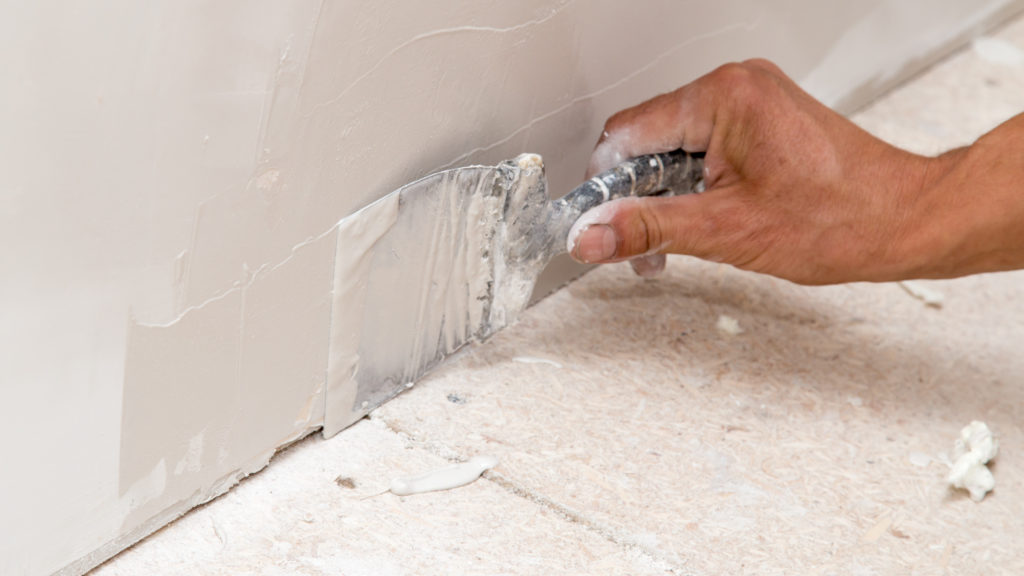
Do’s and Don’ts of Drywall Repair
Drywall is a ubiquitous building material that can sustain damage over time due to various factors, including accidents and wear and tear.
Drywall repair is a common DIY project, but it’s important to approach it correctly to achieve professional-looking results.
In this new article, we’ll explore the essential do’s and don’ts of drywall repair to help you tackle this task effectively and with confidence.
Table of Contents
Do’s and Don’ts of Drywall Repair
The Do’s of Drywall Repair
- Gather the Right Tools: Do ensure you have all the necessary tools on hand, including a utility knife, putty knife, sandpaper, joint compound, and mesh tape.
- Safety First: Do wear safety gear, including safety glasses, a dust mask, and gloves to protect yourself from dust and potential irritants.
- Assess the Damage: Do inspect the damaged area thoroughly to determine the extent of the repair needed. Ensure there is no underlying issue causing the damage, such as water leaks.
- Prepare the Surface: Do clean the damaged area and remove any loose or damaged drywall, ensuring a smooth and stable surface for repair.
- Apply Joint Compound in Thin Layers: Do apply joint compound in thin layers, allowing each layer to dry before adding the next. This prevents excessive buildup and ensures a smooth finish.
- Use Mesh Tape for Large Holes: Do use mesh tape for larger holes or cracks. It provides added stability and prevents future cracking.
- Sand Between Coats: Do sand the joint compound lightly between coats to achieve a smooth finish. Use a fine-grit sandpaper and be careful not to oversand.
- Prime Before Painting: Do apply a primer to the repaired area before painting. This helps the paint adhere evenly and prevents flashing.
- Match the Paint: Do match the paint color and finish to the existing wall for a seamless look. Paint the entire wall if necessary to achieve an even appearance.
You should also read: How to Choose the Right Drywall Repair Service in Virginia
The Don’ts of Drywall Repair
- Don’t Rush: Don’t rush the repair process. Allow each layer of joint compound to dry completely before moving on to the next step.
- Avoid Overloading Joint Compound: Don’t apply joint compound in thick layers as it can crack and create an uneven surface.
- Don’t Skip Sanding: Don’t skip the sanding step between coats. Sanding helps achieve a smooth finish, and skipping it can result in a bumpy surface.
- Avoid Using Duct Tape: Don’t use duct tape or masking tape for repairs. These tapes are not suitable for drywall repairs and may leave residue or damage the surface.
- Don’t Neglect Safety Gear: Don’t overlook safety gear. Protect yourself from dust and potential irritants by wearing the necessary safety equipment.
- Avoid Ignoring Underlying Issues: Don’t ignore underlying issues that may be causing drywall damage. Address the root cause, such as leaks, before making repairs.
Related article: Drywall Repair: 5 Signs That You Need a Drywall Repair Now
Drywall repair can be a satisfying DIY project when done correctly.
By following these do’s and don’ts, you’ll be well-equipped to tackle drywall repairs with confidence and achieve professional-looking results.
Remember to take your time, prioritize safety, and pay attention to details for a successful outcome.


0 Comments